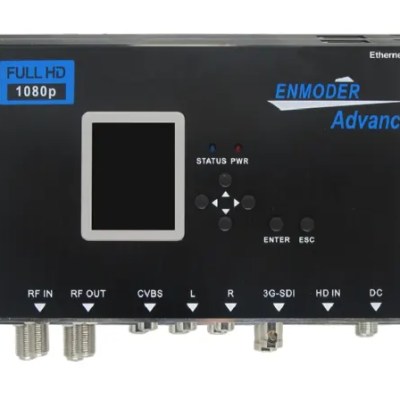
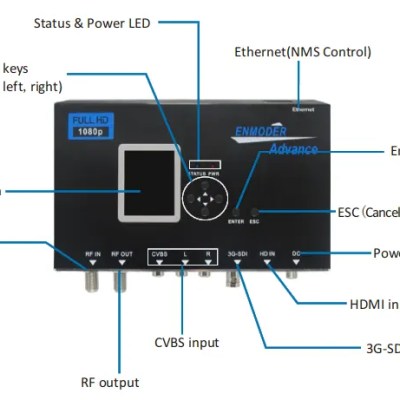
MODULATEUR D'ENCODEUR NUMÉRIQUE DVB-T
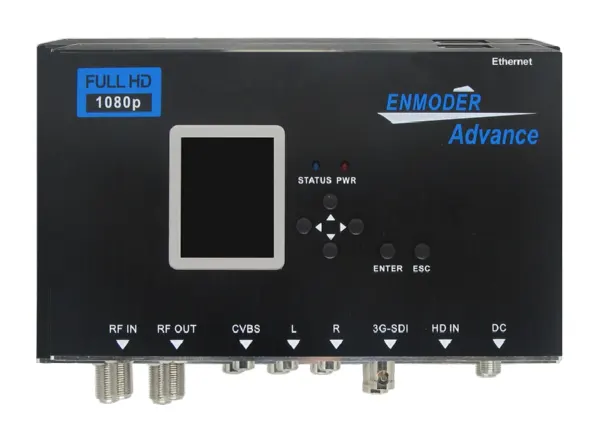
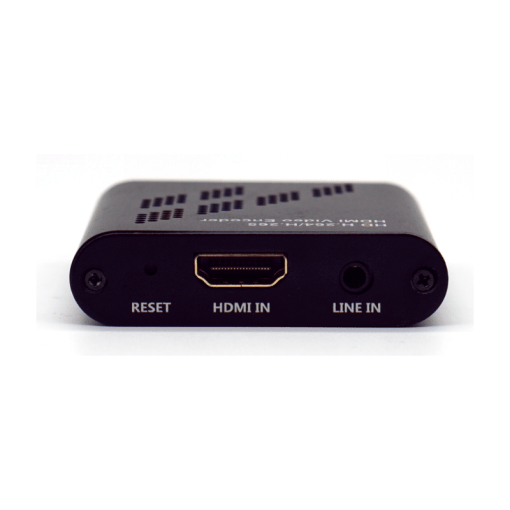
L'appareil est conçu pour rendre l'utilisation de votre appareil HD plus pratique, productif, et rentable. Les appareils Vidéo-Audio peuvent être des caméras de surveillance, DVD Blu-ray, lecteurs multimédias, récepteurs satellite et terrestres, ou des ordinateurs.
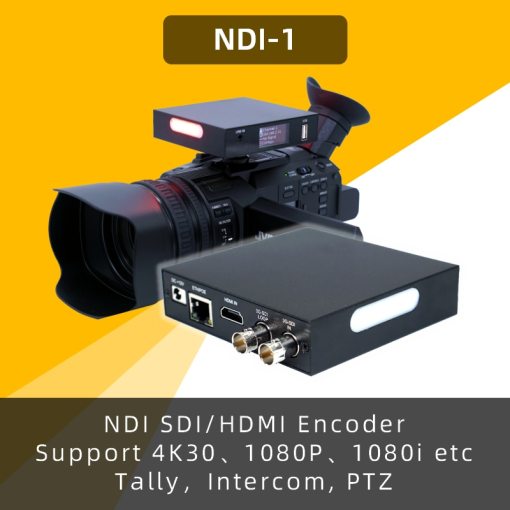
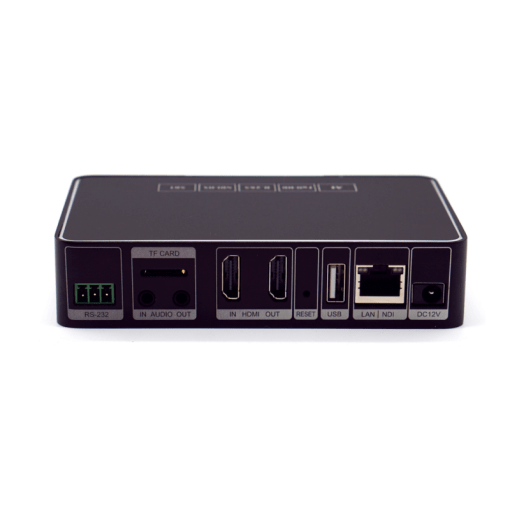
L'appareil peut effectuer un traitement de codage numérique pour les signaux HD-SDI/HDMI/CVBS avec la technologie DTV. Le produit adopte les caractéristiques de la technologie de modulation RF pour transmettre plusieurs signaux RF via un câble coaxial commun pour une transmission longue distance sans amplification.. L'appareil peut distribuer votre source HD en résolution HD sur un nombre illimité d'écrans sur presque n'importe quelle distance.. En ajoutant un mélangeur réseau DTV au câble RF, vous pouvez facilement réaliser un grand nombre d'écrans ou de téléviseurs numériques.
L'appareil offre une solution pour des hôtels tels que, stades, installations de divertissement, or broadcast environments.
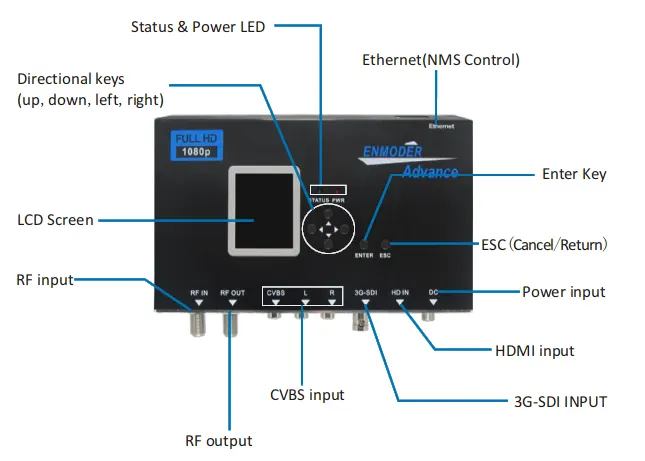
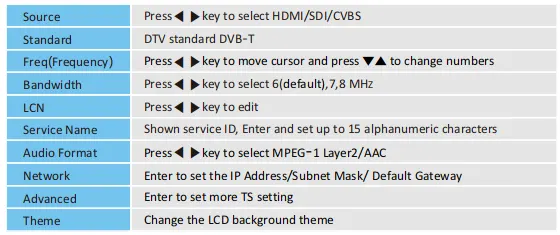
For setting configurations you can use the LCD control panel. The device will initialize to the main interface after powering on, and press “Enter” into the main menu.
Basic Setting
Advance Setting
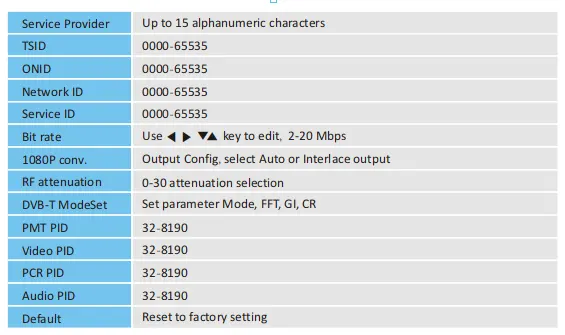
Press the “ENTER” to enter the Advance menu. Then press the key to move the cursor and edit below:
Remark
LCD turns off seconds after no use, LCD turns off automatically.
Reset: Press the ESC key for 3 seconds to Restore factory settings.
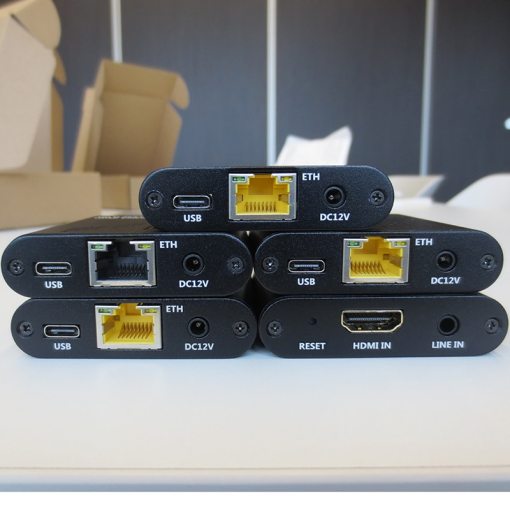
For setting configurations, you can use the LCD control panel and set it by connecting the device to a computer’s RJ45 Port. The default IP of the device is 192. 168. 0 . 168. Your computer will require a static IP address in the range 192. 168. 0 . xxx except for devices; otherwise, it would cause an IP conflict.
1. Computer static IP address Setting

2. Device set up and Log in
1、Connect the PC to the Ethernet port of the Device.
2、Launch the web browser and delete your browsing history.
3、When logging in to the IP (192.168.0.168), you will see the log-in page.
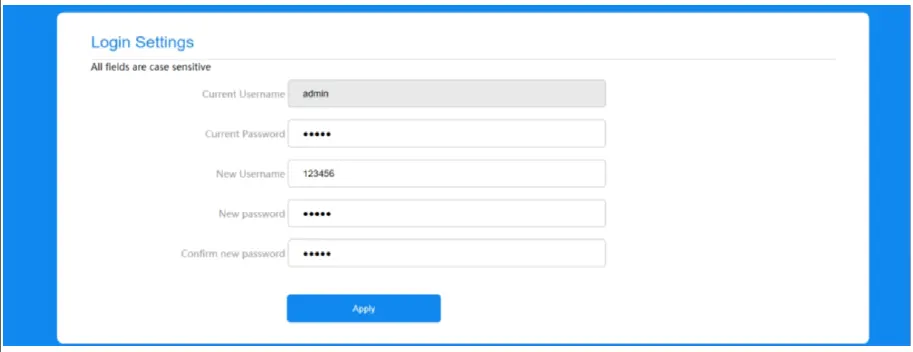
The factory password is “admin”. Enter the password and click the button “Apply”.
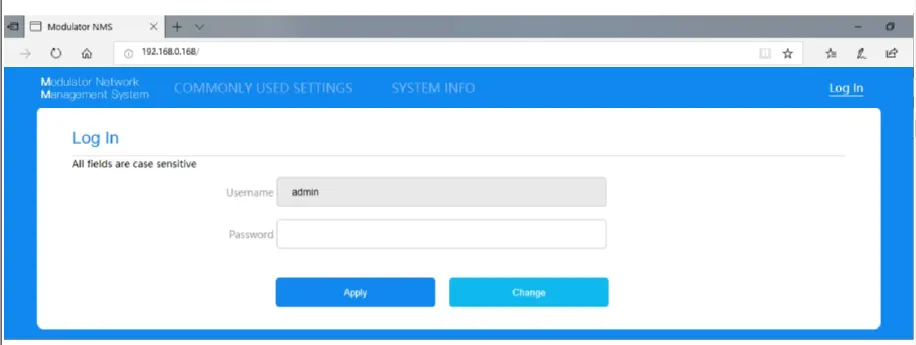
Also, the user can change the Username and Password by clicking “Change”, details displayed on the following page。
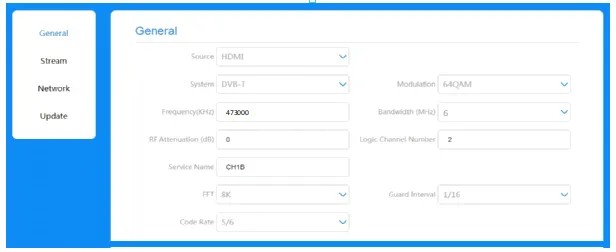
3. General Section
In General section, you can change the settings in section LCD OPERATION INSTRUCTION description.
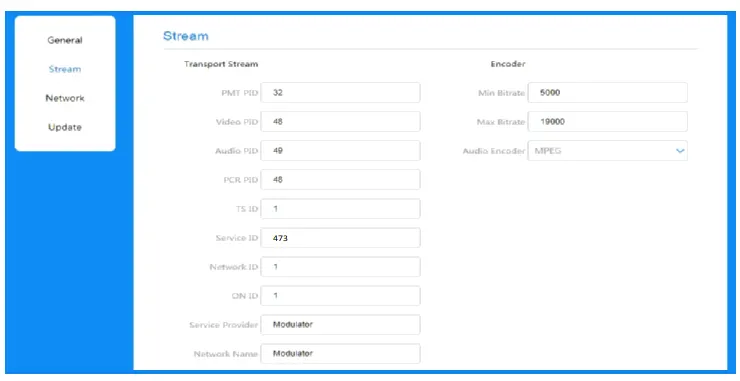
4. Stream Section
In-Stream section, you can change TS setting to section LCD OPERATION INSTRUCTION description
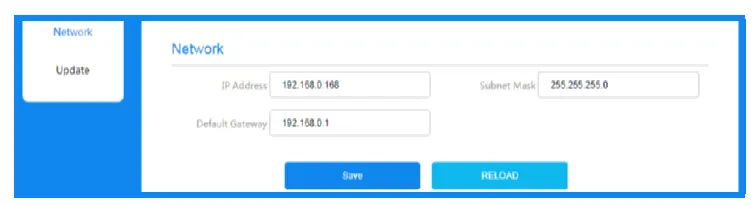
5. Network Section
The default IP is 192.168.0.168. Allow user manual change on this page.
6. Update Section
Cliquez Update on the left side of the homepage to display the following page.

Remark:
1、Make sure the network is stable before operation.
2、Avoid opening two pages with the same URL. 3、Avoid updating the FW & Main MCU through the router, which may cause the update to fail. 4、Ensures the route and power supply are not separated in the update process.
5、After the update, it takes a while for the device to automatically restart. And never turn off the power supply during this period.
6、After the update, if the page does not automatically respond, please do not power off, and try to reload the page, or use another browser to open it again.
7、If the update doesn’t work properly, hold the reset button for 5 seconds before reloading the web page.
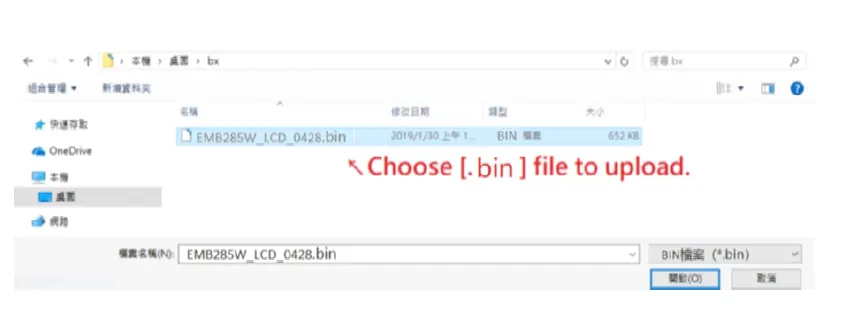
6.1. Update LCD Module
1、Click the “Update Modulator Firmware” button and pop up a dialog box. 2、Choose the file[xxx.bin] to be uploaded.
3、After the update is completed, it will automatically return to the settings page.
6.2. Update Modulator Firmware
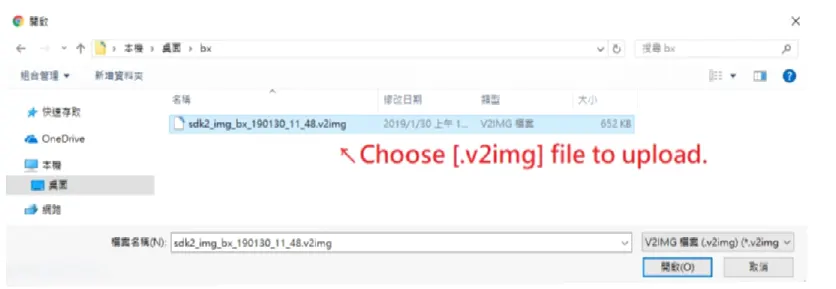
1、Click the “Update Modulator Firmware” button and pop up a dialog box. 2、Choose the file[xxx.v2img] to be uploaded.
3、After the update is completed, it will automatically return to the settings page
6.3. Update Main MCU
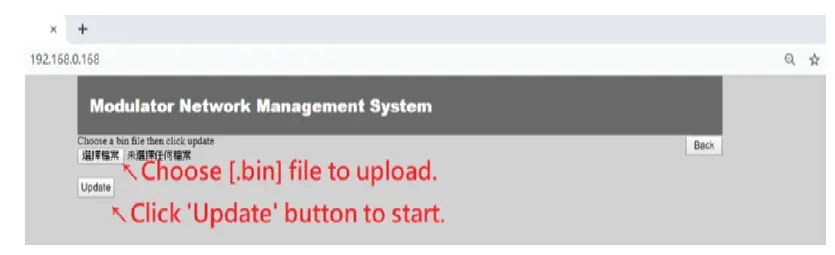
1、Cliquez the “ Start Update Main MCU” button, and it will jump to another page as below picture. 2、Choose the file [xxx.bin] to upload then click the “ Update ” button.
3、When the update is finished, will automatically return to the homepage.
7. System Info Section
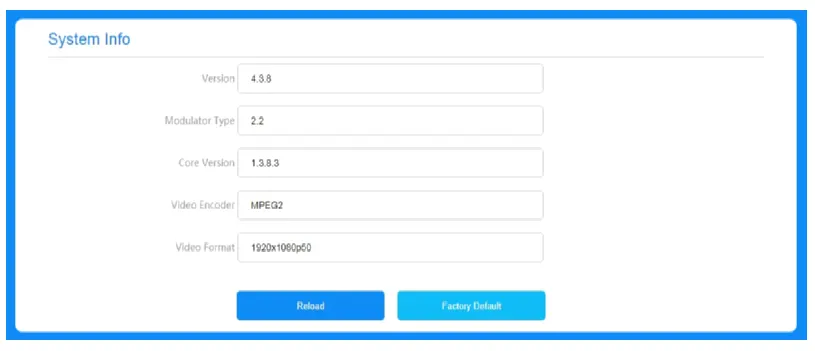
Users can check the software version and Video source information here
CONNECTING TO THE MAINS SUPPLY
This product has to be connected to the main supply.
Before carrying out maintenance operations or modification of the installation, the Device has to be disconnected.
OVERVOLTAGE An over-voltage causes short circuits or fire. Never overload the power lines. Always use the 12VDC power supply provided for single channel series.
LIQUIDS
doit être protégé des éclaboussures;
Ne placez pas d'objets remplis de liquides dessus;
Si un liquide tombe accidentellement dans l'armoire, débrancher la fiche d'alimentation.
NETTOYAGE
Débranchez le module avant de le nettoyer. Utiliser uniquement un chiffon humide sans solvant.
VENTILATION
les trous de ventilation ne doivent pas être obstrués;
ne pas être installé dans un environnement hermétiquement fermé;
Les autres produits électroniques ou articles produisant de la chaleur respectent une distance minimale de 15 cm autour de l'appareil pour une ventilation suffisante;
ACCESSOIRES
Utilisez uniquement l'adaptateur secteur fourni;
L'utilisation d'accessoires non fabriqués par le fabricant peut endommager le module.
INSTALLATION DU MODULE
N'exposez pas l'appareil à la pluie ou à l'humidité;
Ne pas installer à la lumière directe du soleil ou dans des endroits humides;
Respecter les spécifications de température minimale et maximale
CONTENU DE L'EMBALLAGE
Appareil 1 pièces
Adaptateur secteur 1 pièces
Manuel d'utilisation 1 pièces
Modulateur d'encodeur numérique ultra haute définition